HOW TO CHANGE YOUR DIGITAL CLOCK
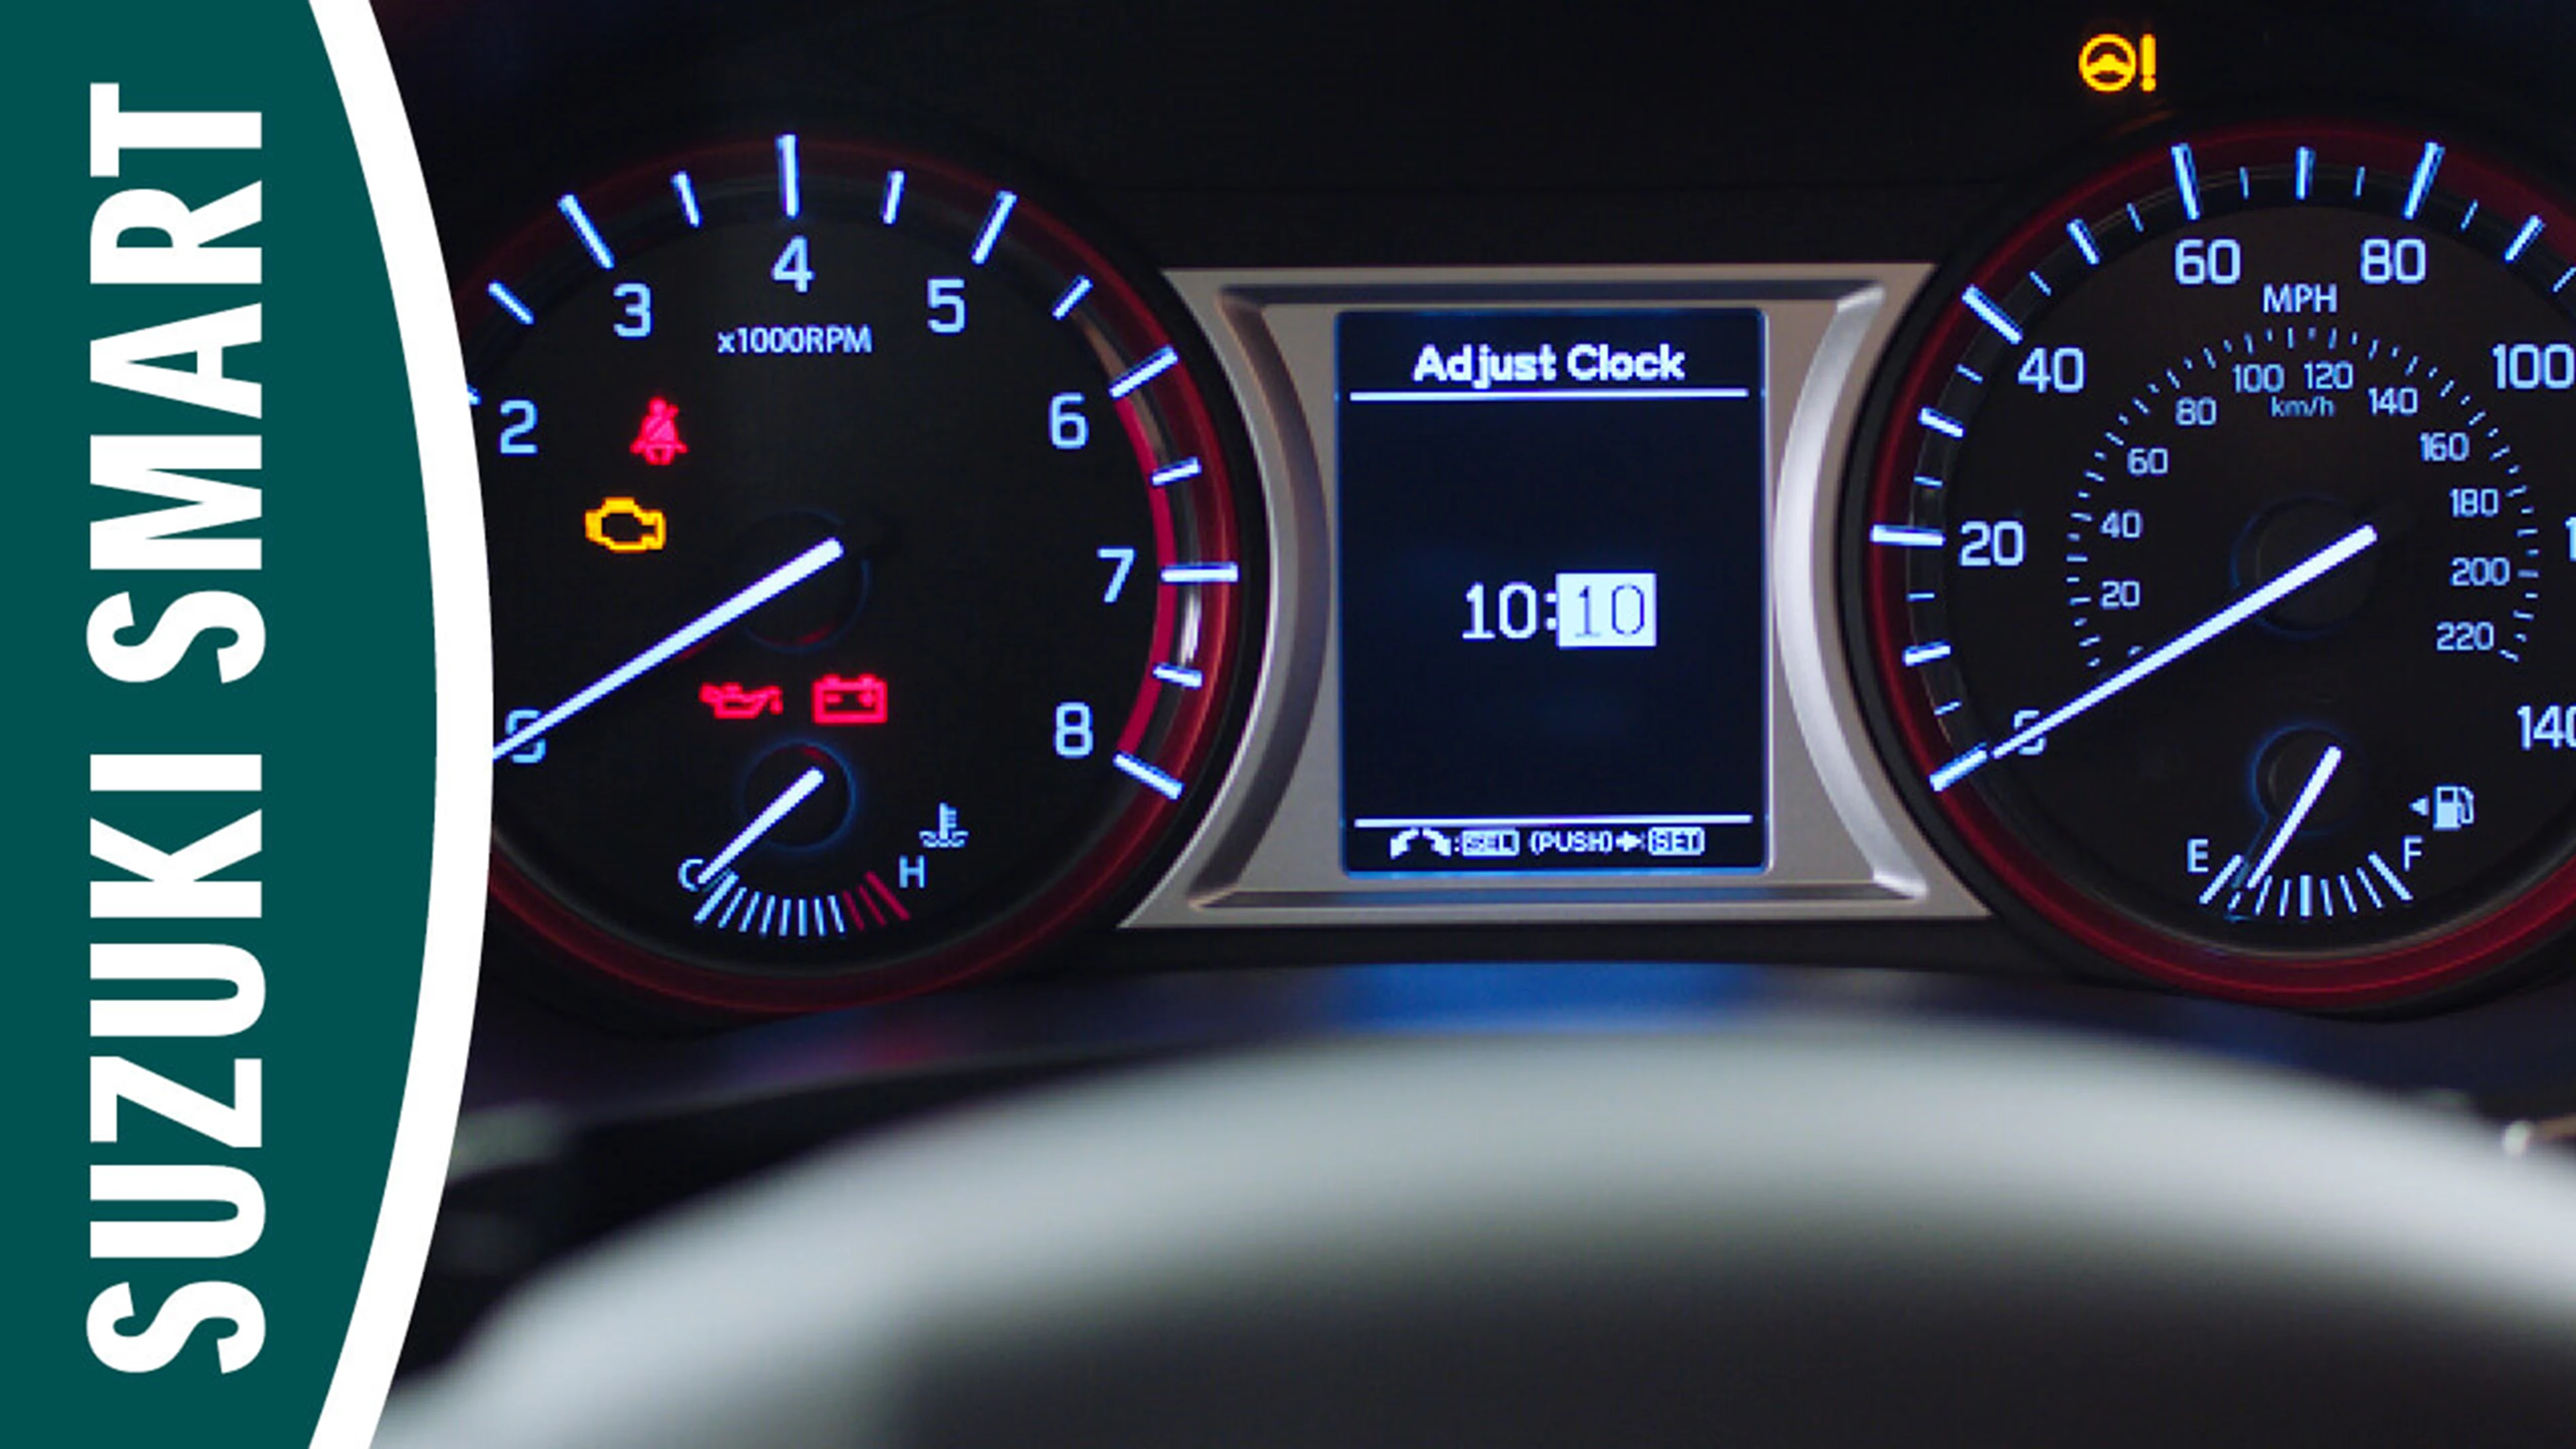
You will need to change the clock in your Suzuki at least twice a year, as we switch in and out of British Summer Time, with the clocks going forward in the Spring and then going back in the Autumn, but the good news is that it’s a straightforward process.
Instructions for
Changing your Digital Clock
The process may vary from model to model, so it's worth checking your owner's handbook or asking someone at your local Suzuki Service Centre for advice on how to do it.
However, we have some general advice that will apply for most owners.
First, turn on your ignition and, once the instrument panel starts up, you're ready to go. If you have a stalk on the right-hand side of the instrument panel, press down on it, which will open the main menu.
Then twist the stalk to navigate the menu and scroll down to 'Clock setting'. Press the stalk to select this option. You'll now see the hour digit highlighted, so twist the stalk again to adjust the hour to what you want it to be, then press it to confirm.
Now you'll find the minutes are highlighted, so again twist the stalk to get to the correct time and press the stalk again to confirm and set the new time.
To return to the main menu, scroll to the 'Back' option and press the stalk.
The correct time should now be displayed in your car.
Please note that analogue clocks fitted in Vitara models will automatically synchronise with the digital clock.
USING CLIMATE CONTROL - AIR CONDITIONING WITH AUTO FUNCTION
Setting the climate control to manage the heating, ventilation and air conditioning system to ensure the right conditions is important for making the car as comfortable as possible – especially on long journeys.
Instructions for
Using Climate Control
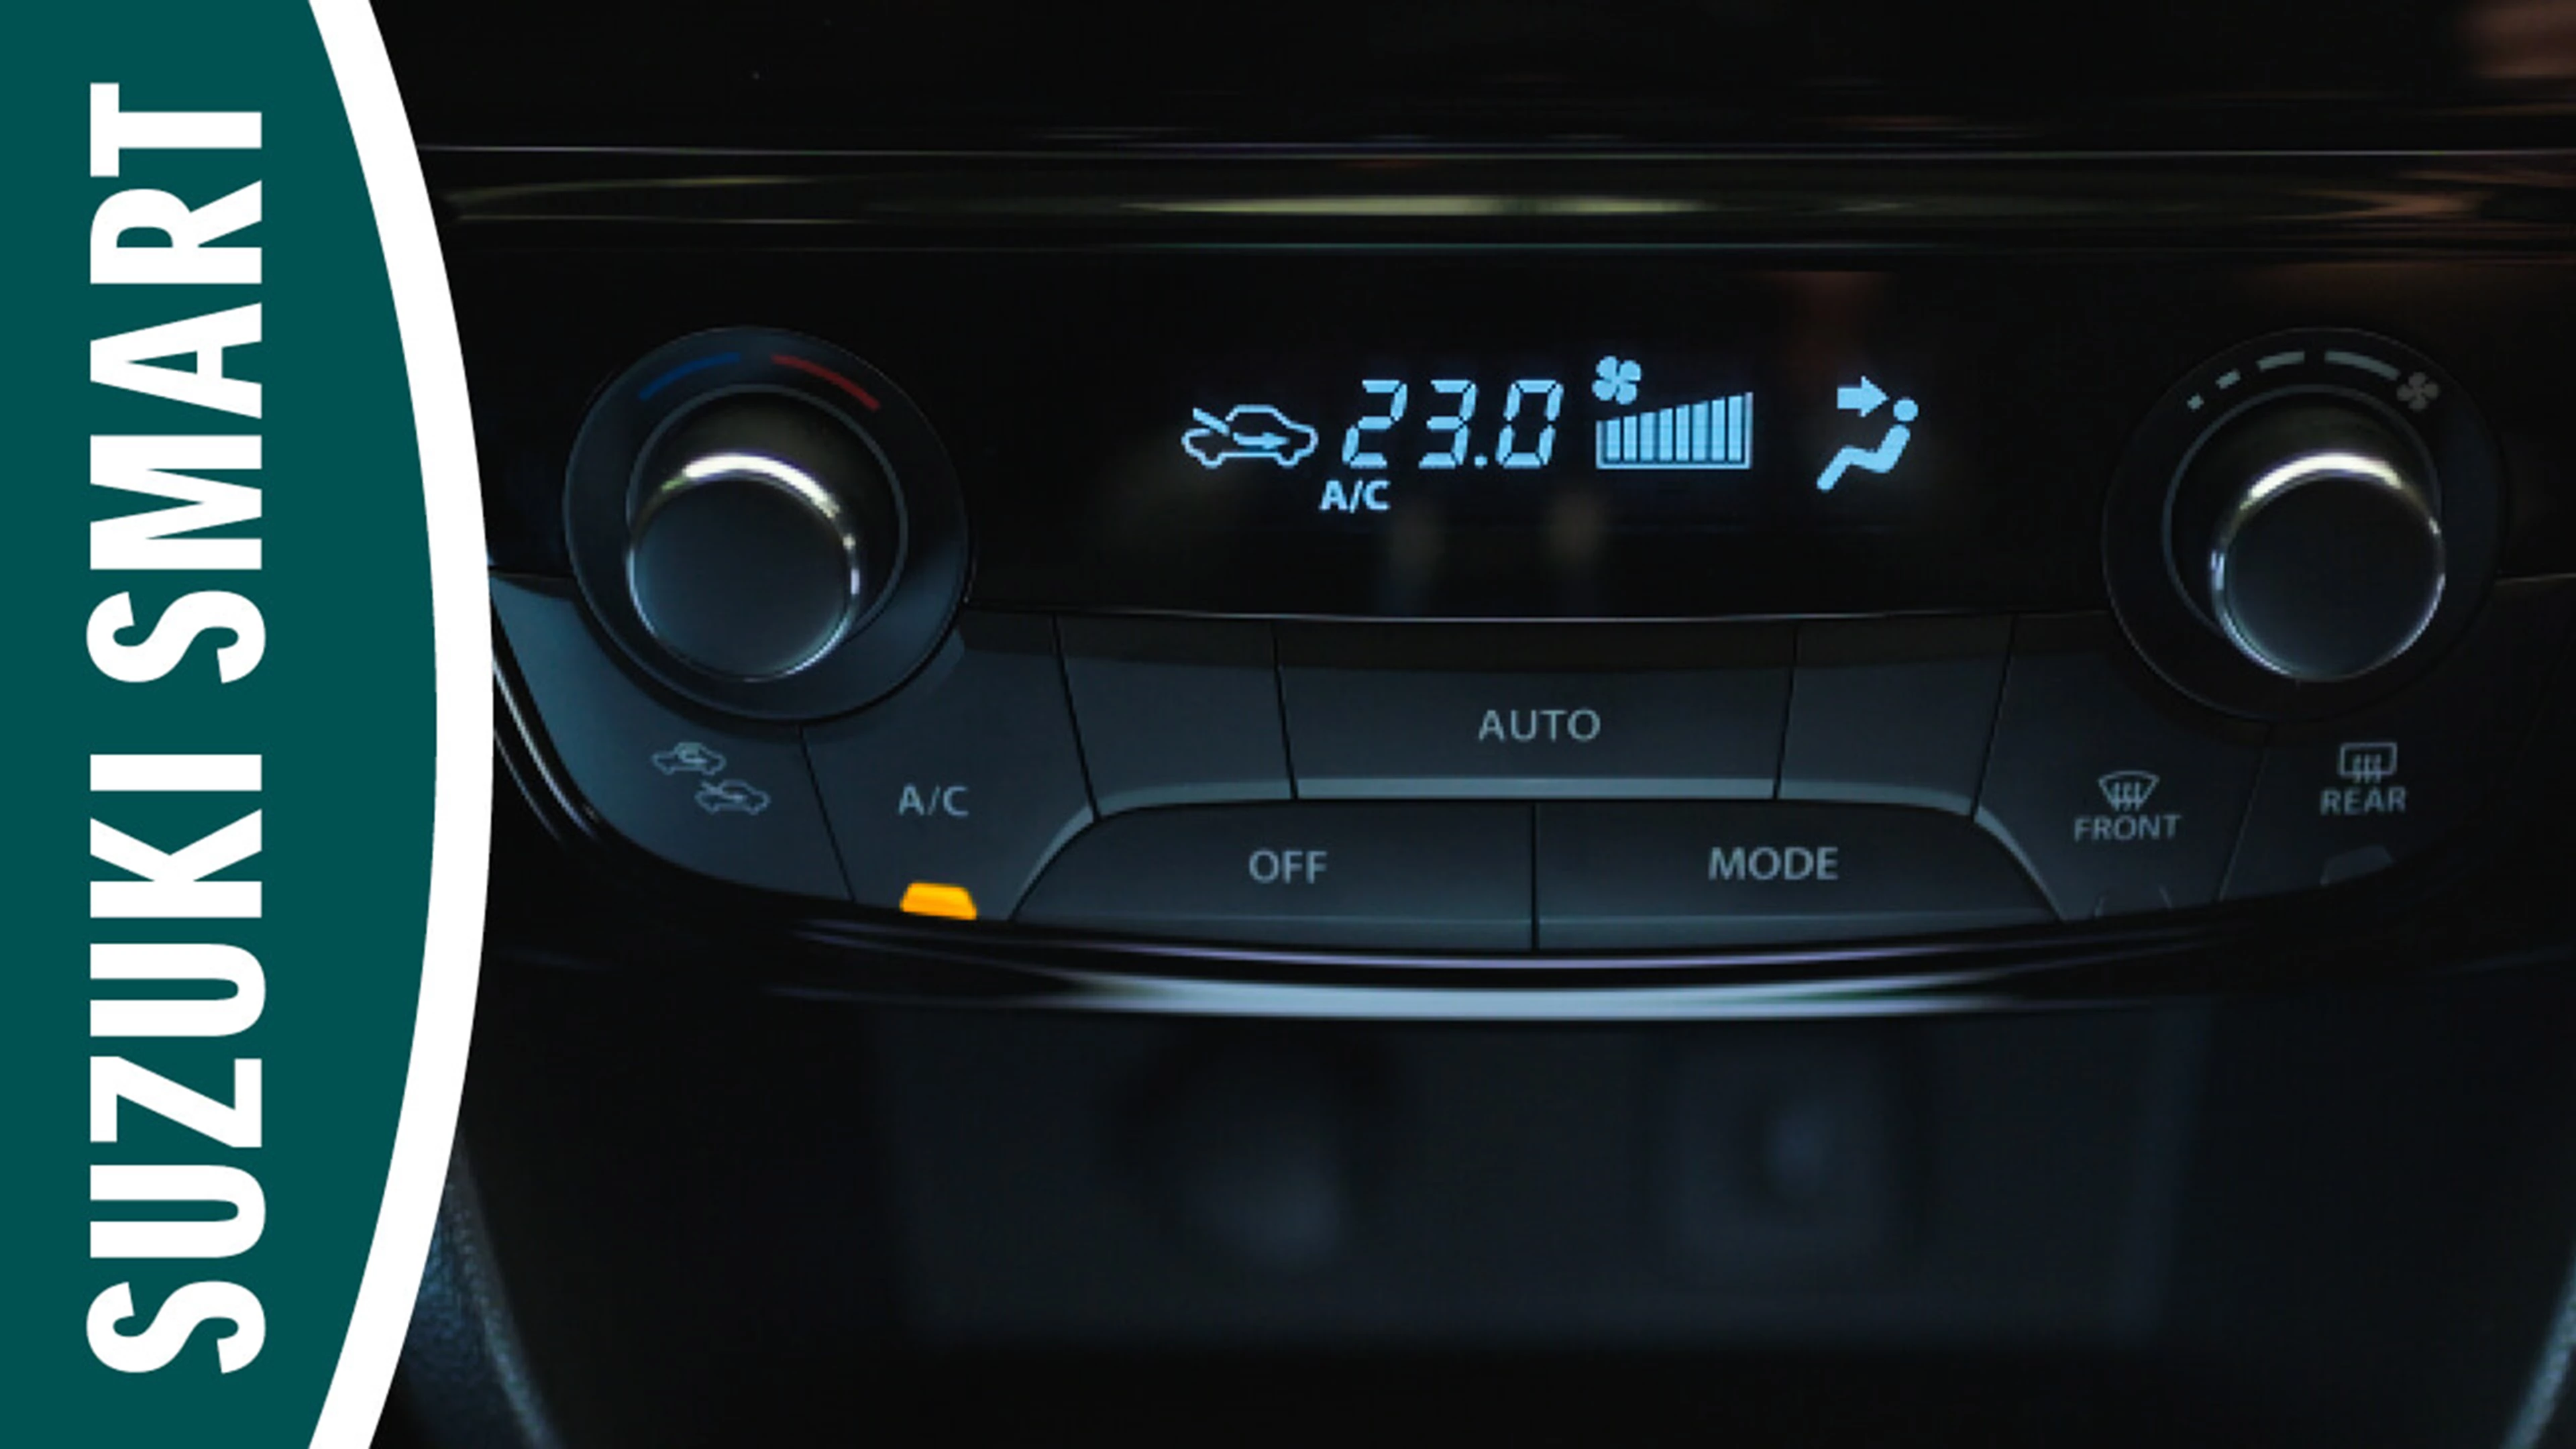
Using the climate control, also known as the air conditioning's 'auto function' to find the optimal climate within the car is easy. Your owner's manual will explain how to use the system, as specific information can vary from model to model, but most models will work in generally the same way.
First, press the A/C button to activate the air conditioning, then turn the speed selector (which should be the dial on the right) to adjust the fan speed. Then, to control the direction of the airflow – upwards, downwards or directly at the driver and front passenger – press the 'MODE' button until the direction is indicated in the screen.
In order to adjust the temperature, turn the temperature dial (usually the one on the left), with red and blue lines around the top. Turn it anti-clockwise – towards the blue – to lower the temperature, or turn it clockwise – towards the red – to increase the temperature.
If you want to demist the front windscreen, press the 'FRONT' button: to demist the rear screen, press the 'REAR' button.
You can also choose between fresh and recirculated air by pressing the button on the left with the icons of a car: one has an arrow flowing into the car from outside, which indicates fresh air, while the other, which has an arrow that rotates back on itself. In warm weather, using the recirculated air option will cool the cabin down quicker: this option will also minimise pollutants inside the car.
To switch the system off, press the 'OFF' button.
Pressing the 'AUTO' button maintains the set temperature.
To optimise the system, the cabin filter should be replaced every two years at your local Service Centre.
USING MANUAL AIR CONDITIONING
Using your manual air conditioning system to get the right conditions in your car is an important factor in making your journey as comfortable as possible- especially on longer drives.
Instructions for
Using Manual Air Conditioning
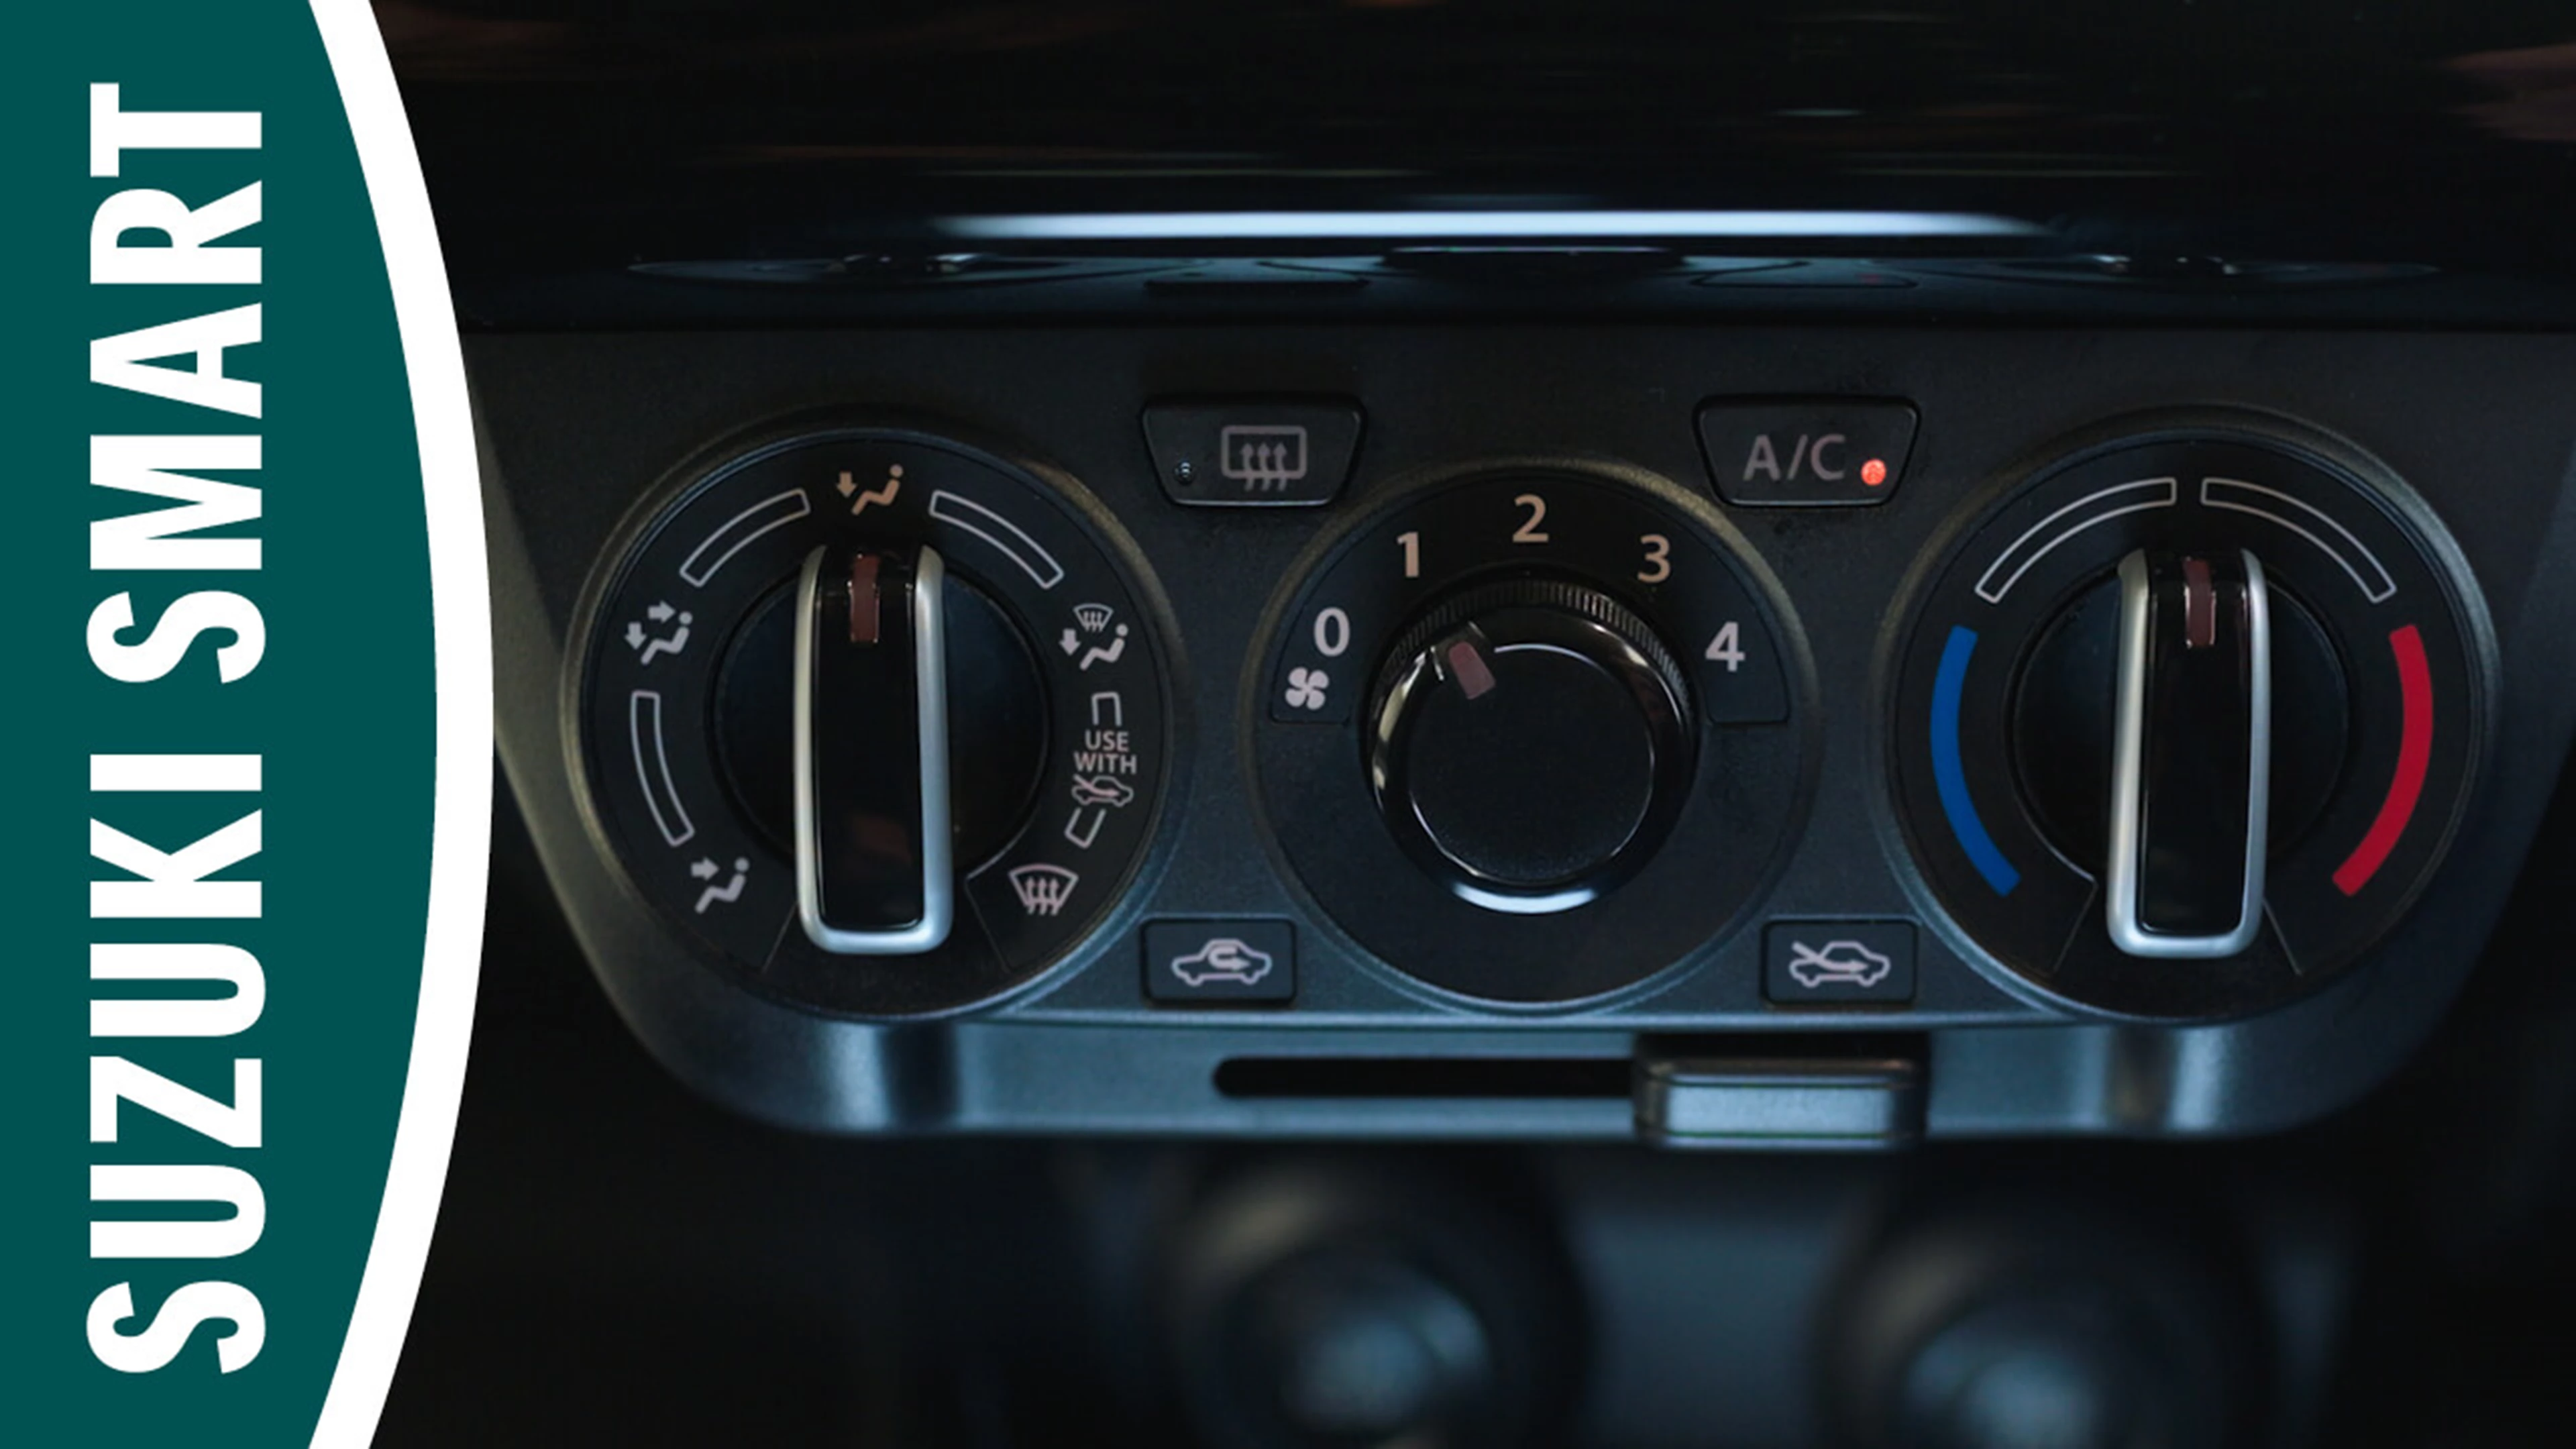
Setting the right temperature in the car using its manual air conditioning system couldn’t be easier. While you should check your owner’s manual for the full instructions on how to use the system, as the specifics can vary from model to model, most of the models work in a similar manner.
First, press the A/C button to switch on the air conditioning, then turn the speed selector to change the speed of the fan. The airflow selector can then be used to control the direction of the airflow- up, down or directly towards the driver and front passenger.
To set the temperature of the air conditioning, turn the temperature dial- the one with the red and blue lines. Turn the temperature dial anti-clockwise, towards the blue, to reduce the temperature, or turn it clockwise, towards the red, to increase the temperature.
If you want to demist the front windscreen using your car’s manual air conditioner, turn the airflow selector clockwise all the way to the right. If you want to demist the rear screen, press the button with the rectangle and three arrows rising upwards.
You can also decide whether to use fresh or recirculated air within your air conditioning system. Using recirculated air in this manner cools down the car’s cabin more quickly and will also allow you to minimise the amount of pollutants and allergens that enter the car while driving. To choose between fresh and recirculated air, select the buttons with the icons of the car: one has an arrow flowing into the car from outside, which indicates fresh air, while the other, which has an arrow that rotates back on itself, indicating recirculated air.
To switch the system off, turn the fan speed to 0.
To ensure that your manual air conditioning system is working at peak efficiency, the cabin filter should be replaced every two years at your local Service Centre.
UNDERSTANDING YOUR DASHBOARD LIGHTS
All modern cars have many warning lights on their dashboard to inform the driver of a problem – and Suzuki cars are no different. As many of these lights can indicate a serious issue with the car, it’s important that owners know what they mean.
Instructions for
Using Your Dashboard Lights
There is a simple shortcut that will help to understand the array of lights in the instrument panel. Red lights, for example, either indicate a serious problem with the car, or act as a reminder (a seatbelt not being worn while driving, for example). An orange or yellow light will indicate that a part needs replacing or a service is due: furthermore, if this light flashes, you should contact your local Suzuki Service Centre. A green or blue light, meanwhile, will mean that a feature such as automatic engine start/stop control, hill hold or lights are currently switched on.
In Suzuki models, there are a number of important dashboard warning lights that owners should be aware of, so referring to the owner’s handbook is recommended, in order to familiarise yourself with them. Chances are that you’ll never see them, but recognising them could either save you a lot of money in repairs or even save your life.
Notable examples are an orange light that points to a fault in the system the four-wheel-drive system; a flashing orange ABS light will warn that the system is in use, so the car’s wheels are slipping when the car is braking; a red airbag light will point to an airbag system fault and all airbags are switched off; an orange steering wheel with an exclamation mark warns of a fault in the electric power steering; or an exclamation mark inside a cross-section of a tyre is a low tyre pressure warning.
HOW TO USE CRUISE CONTROL
Many Suzuki models are now fitted with cruise control features, which offer a number of benefits for drivers.
Instructions for
Using Cruise Control
Cruise control is especially suited to long journeys and motorway driving, and is a good way to manage your speed (particularly in sections of road governed by average speed cameras). It also helps reduce fuel consumption by preventing sudden acceleration.
To find information on the cruise control feature on your Suzuki, check your owner’s manual or ask your local Suzuki Service Centre.
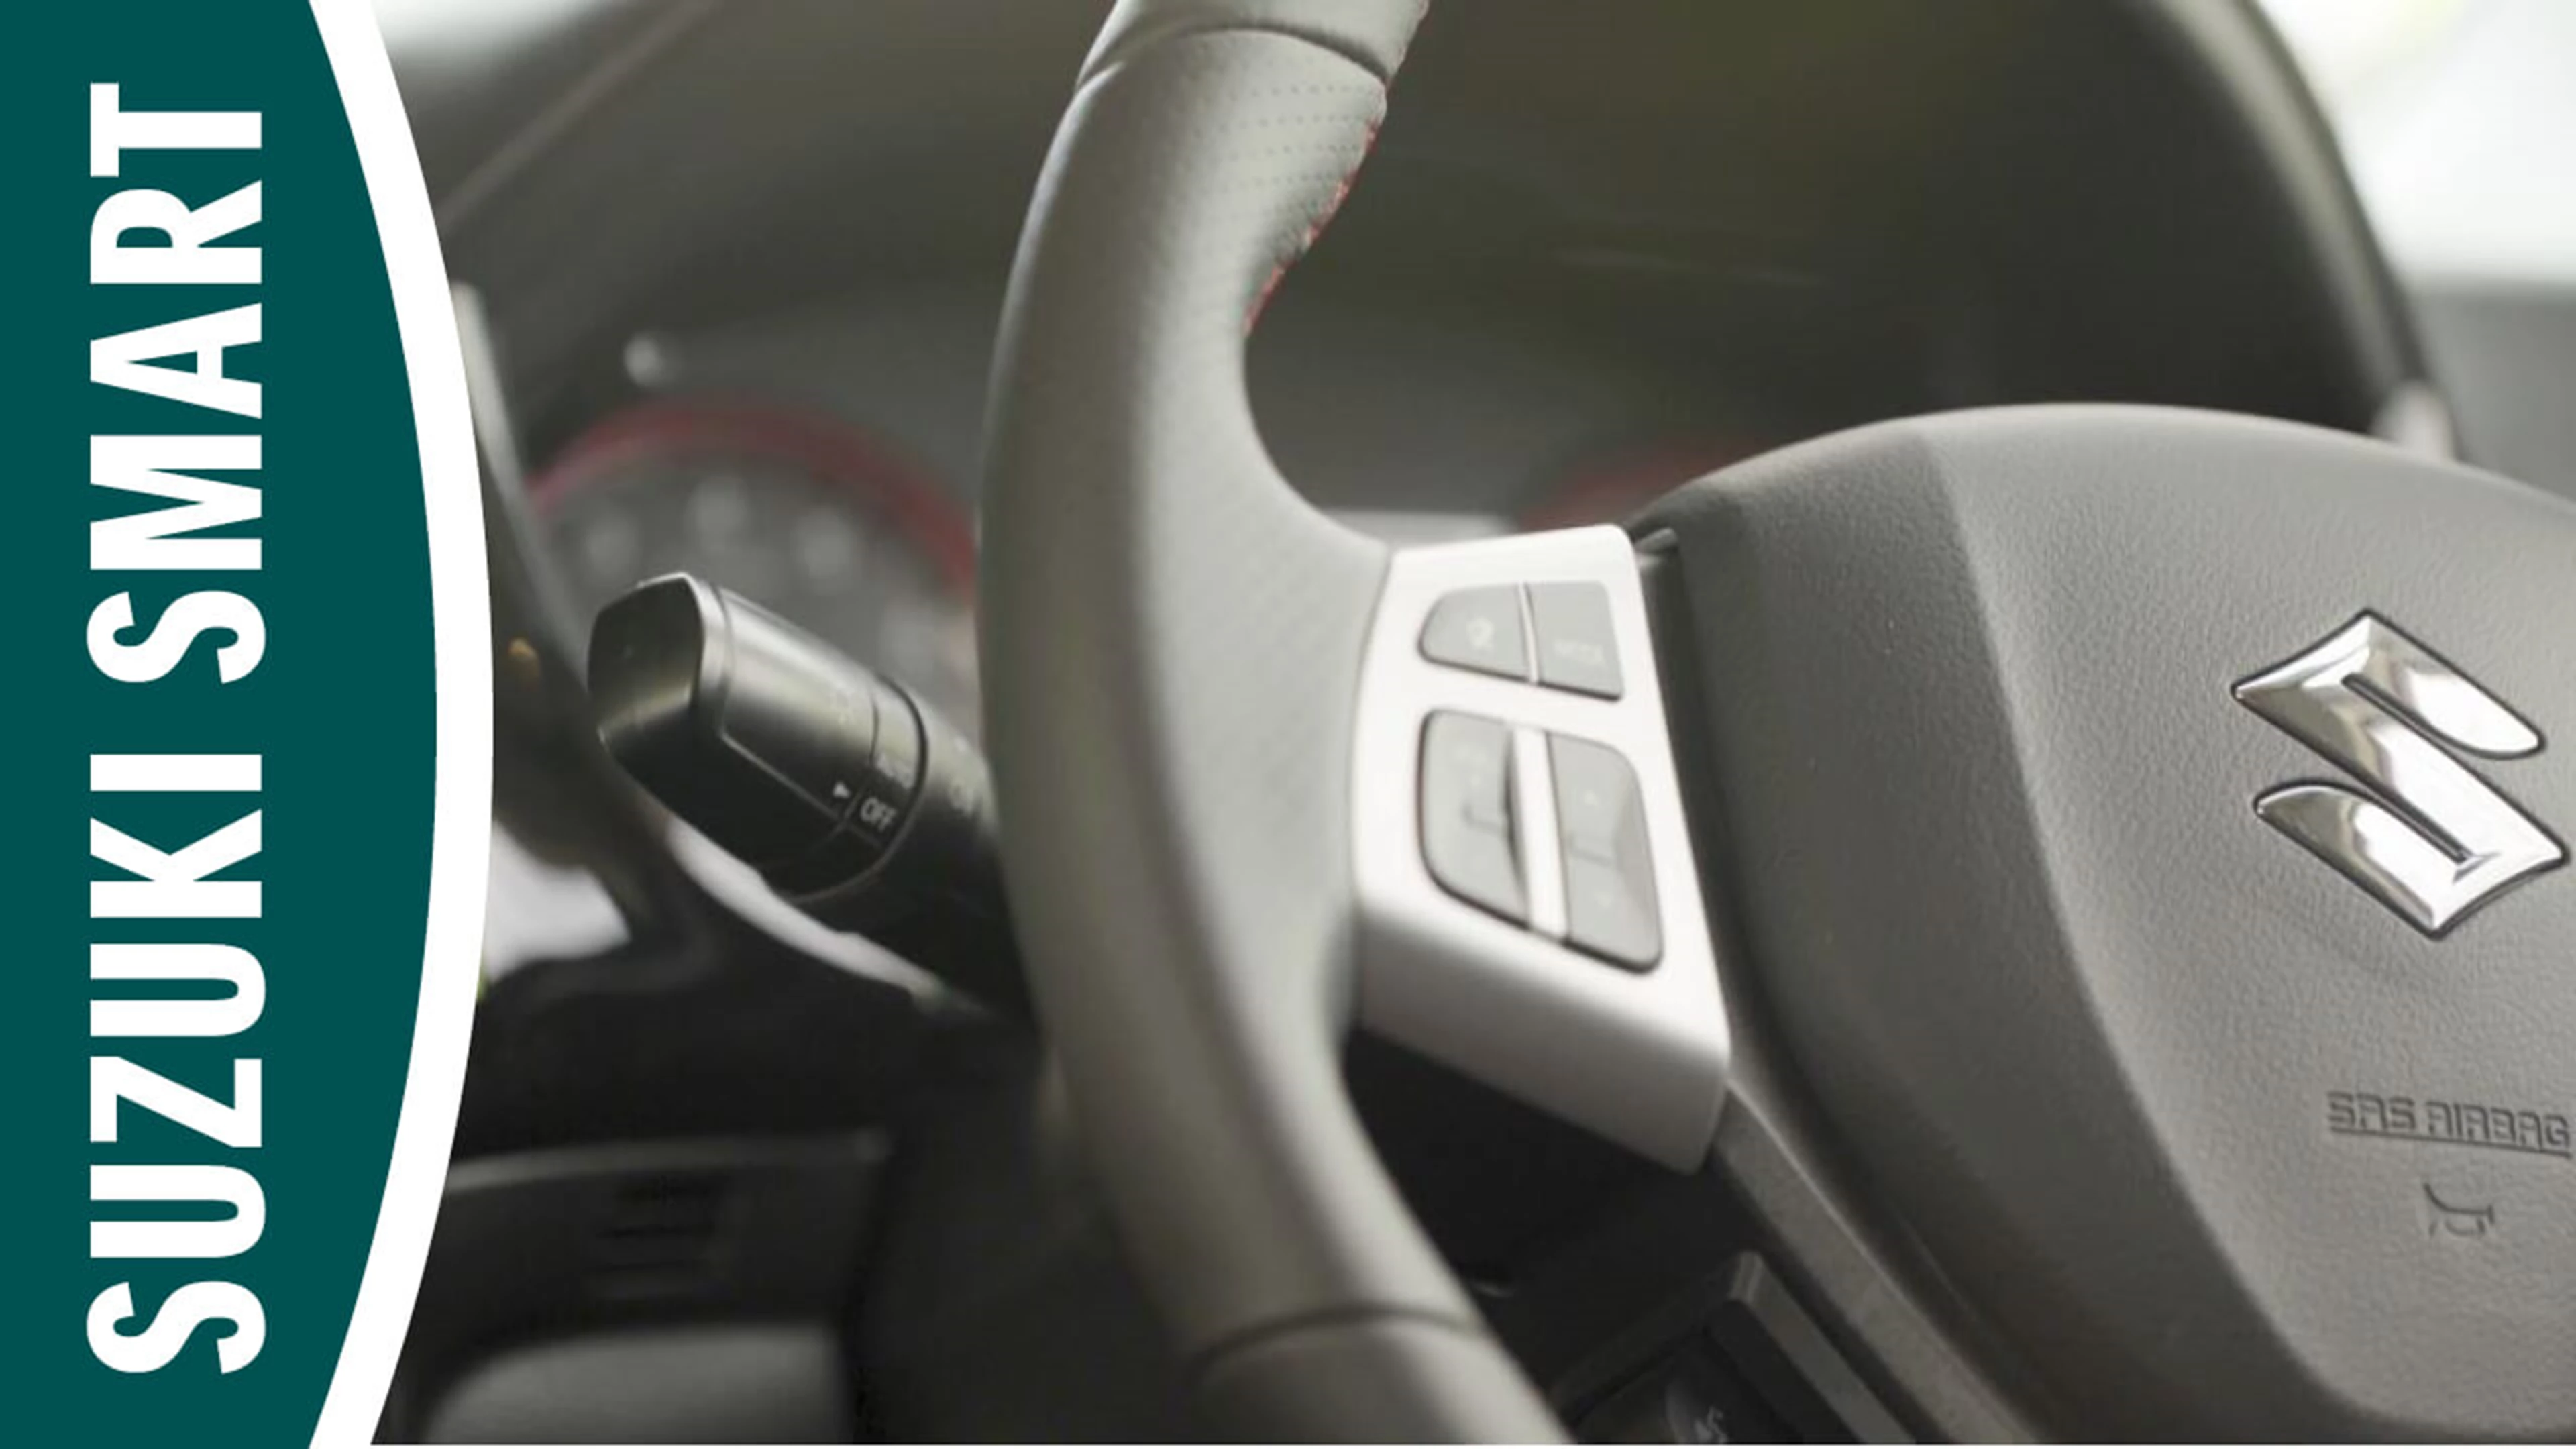
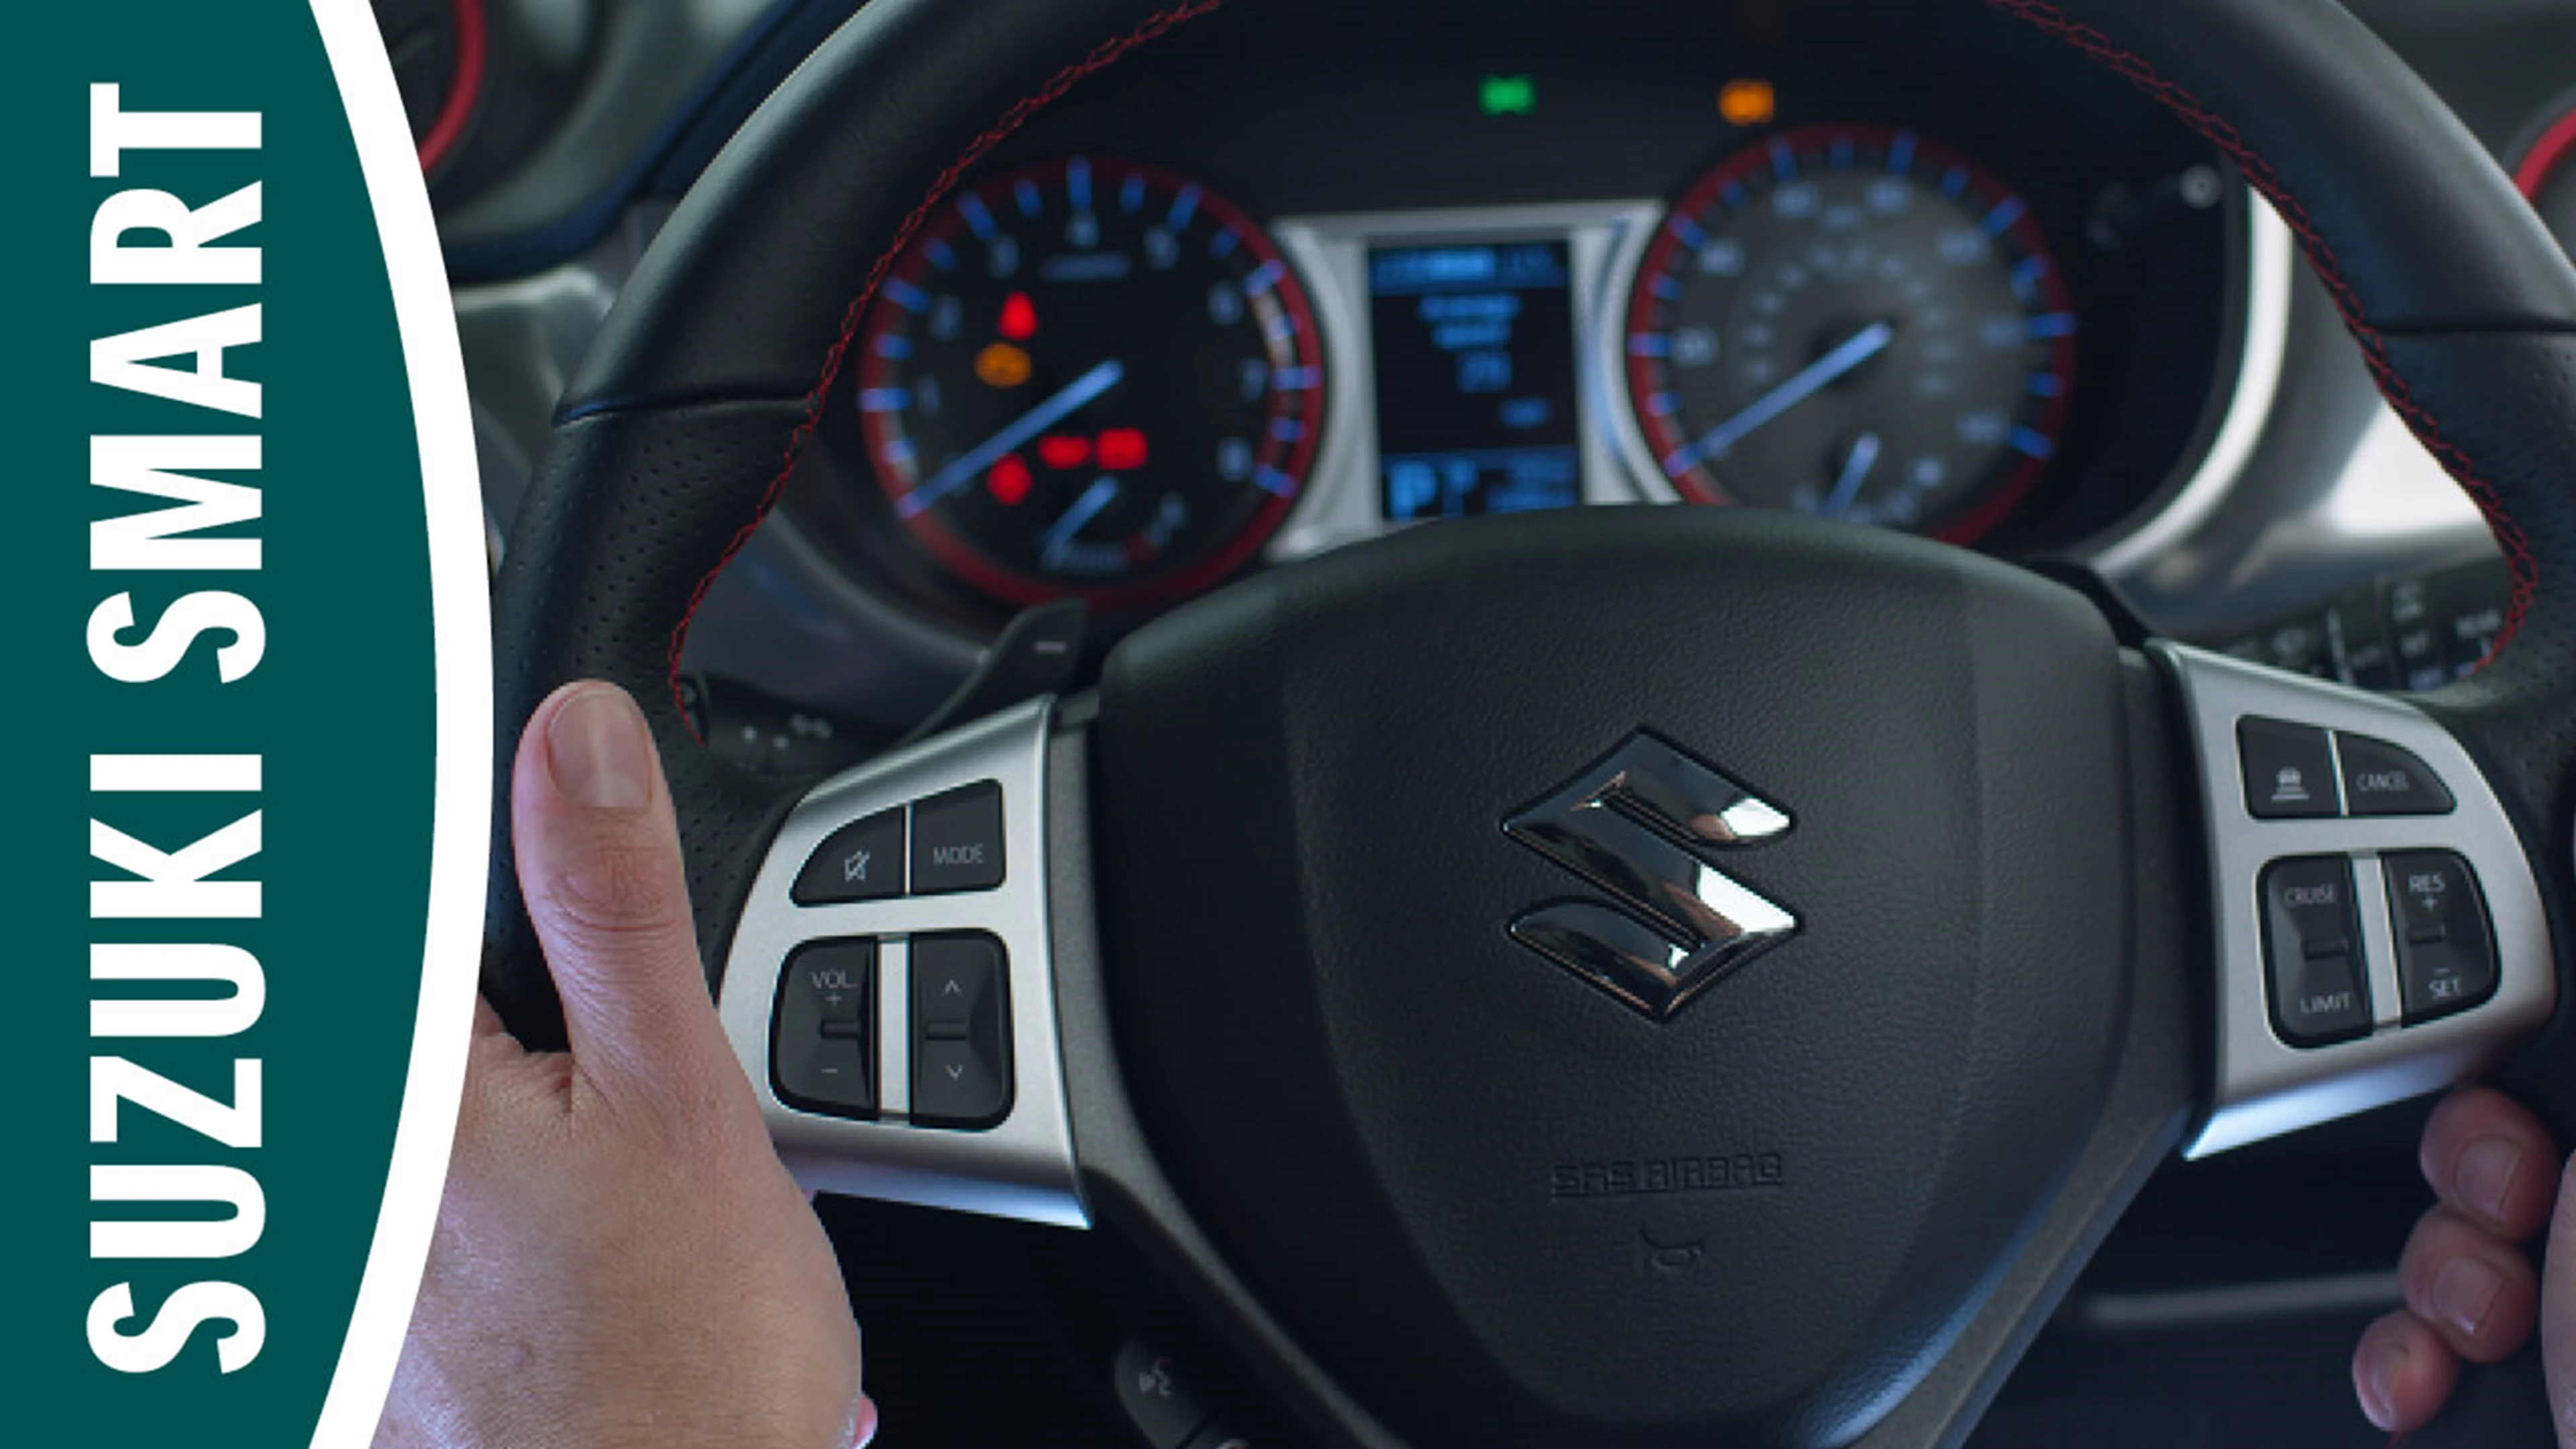
On many models, however, you’ll see a ‘CRUISE’ button on the steering wheel: pressing it engages the cruise control. To set the speed you require, press ‘SET’, then use the + and – buttons to increase or decrease your set speed: if you hold those buttons down, the speed will be adjusted in 5mph increments.
If your car has adaptive cruise control fitted, you can also maintain a set distance from the vehicle in front of you, by pressing the button with a car icon and some horizontal lines below it. Adaptive cruise control uses sensors in the car to measure the distance to the vehicle in front. If it slows, your car will also slow down, staying the same safe distance behind: if the vehicle in front speeds up or moves out of the way, your car will automatically increase its speed to what the cruise control is set to.
The advantage of adaptive cruise control is that it enables you to stay a safe distance behind the vehicle in front, working with collision avoidance technology to either avoid crashes or at least minimise the damage if a collision is unavoidable.


